
The Process
-

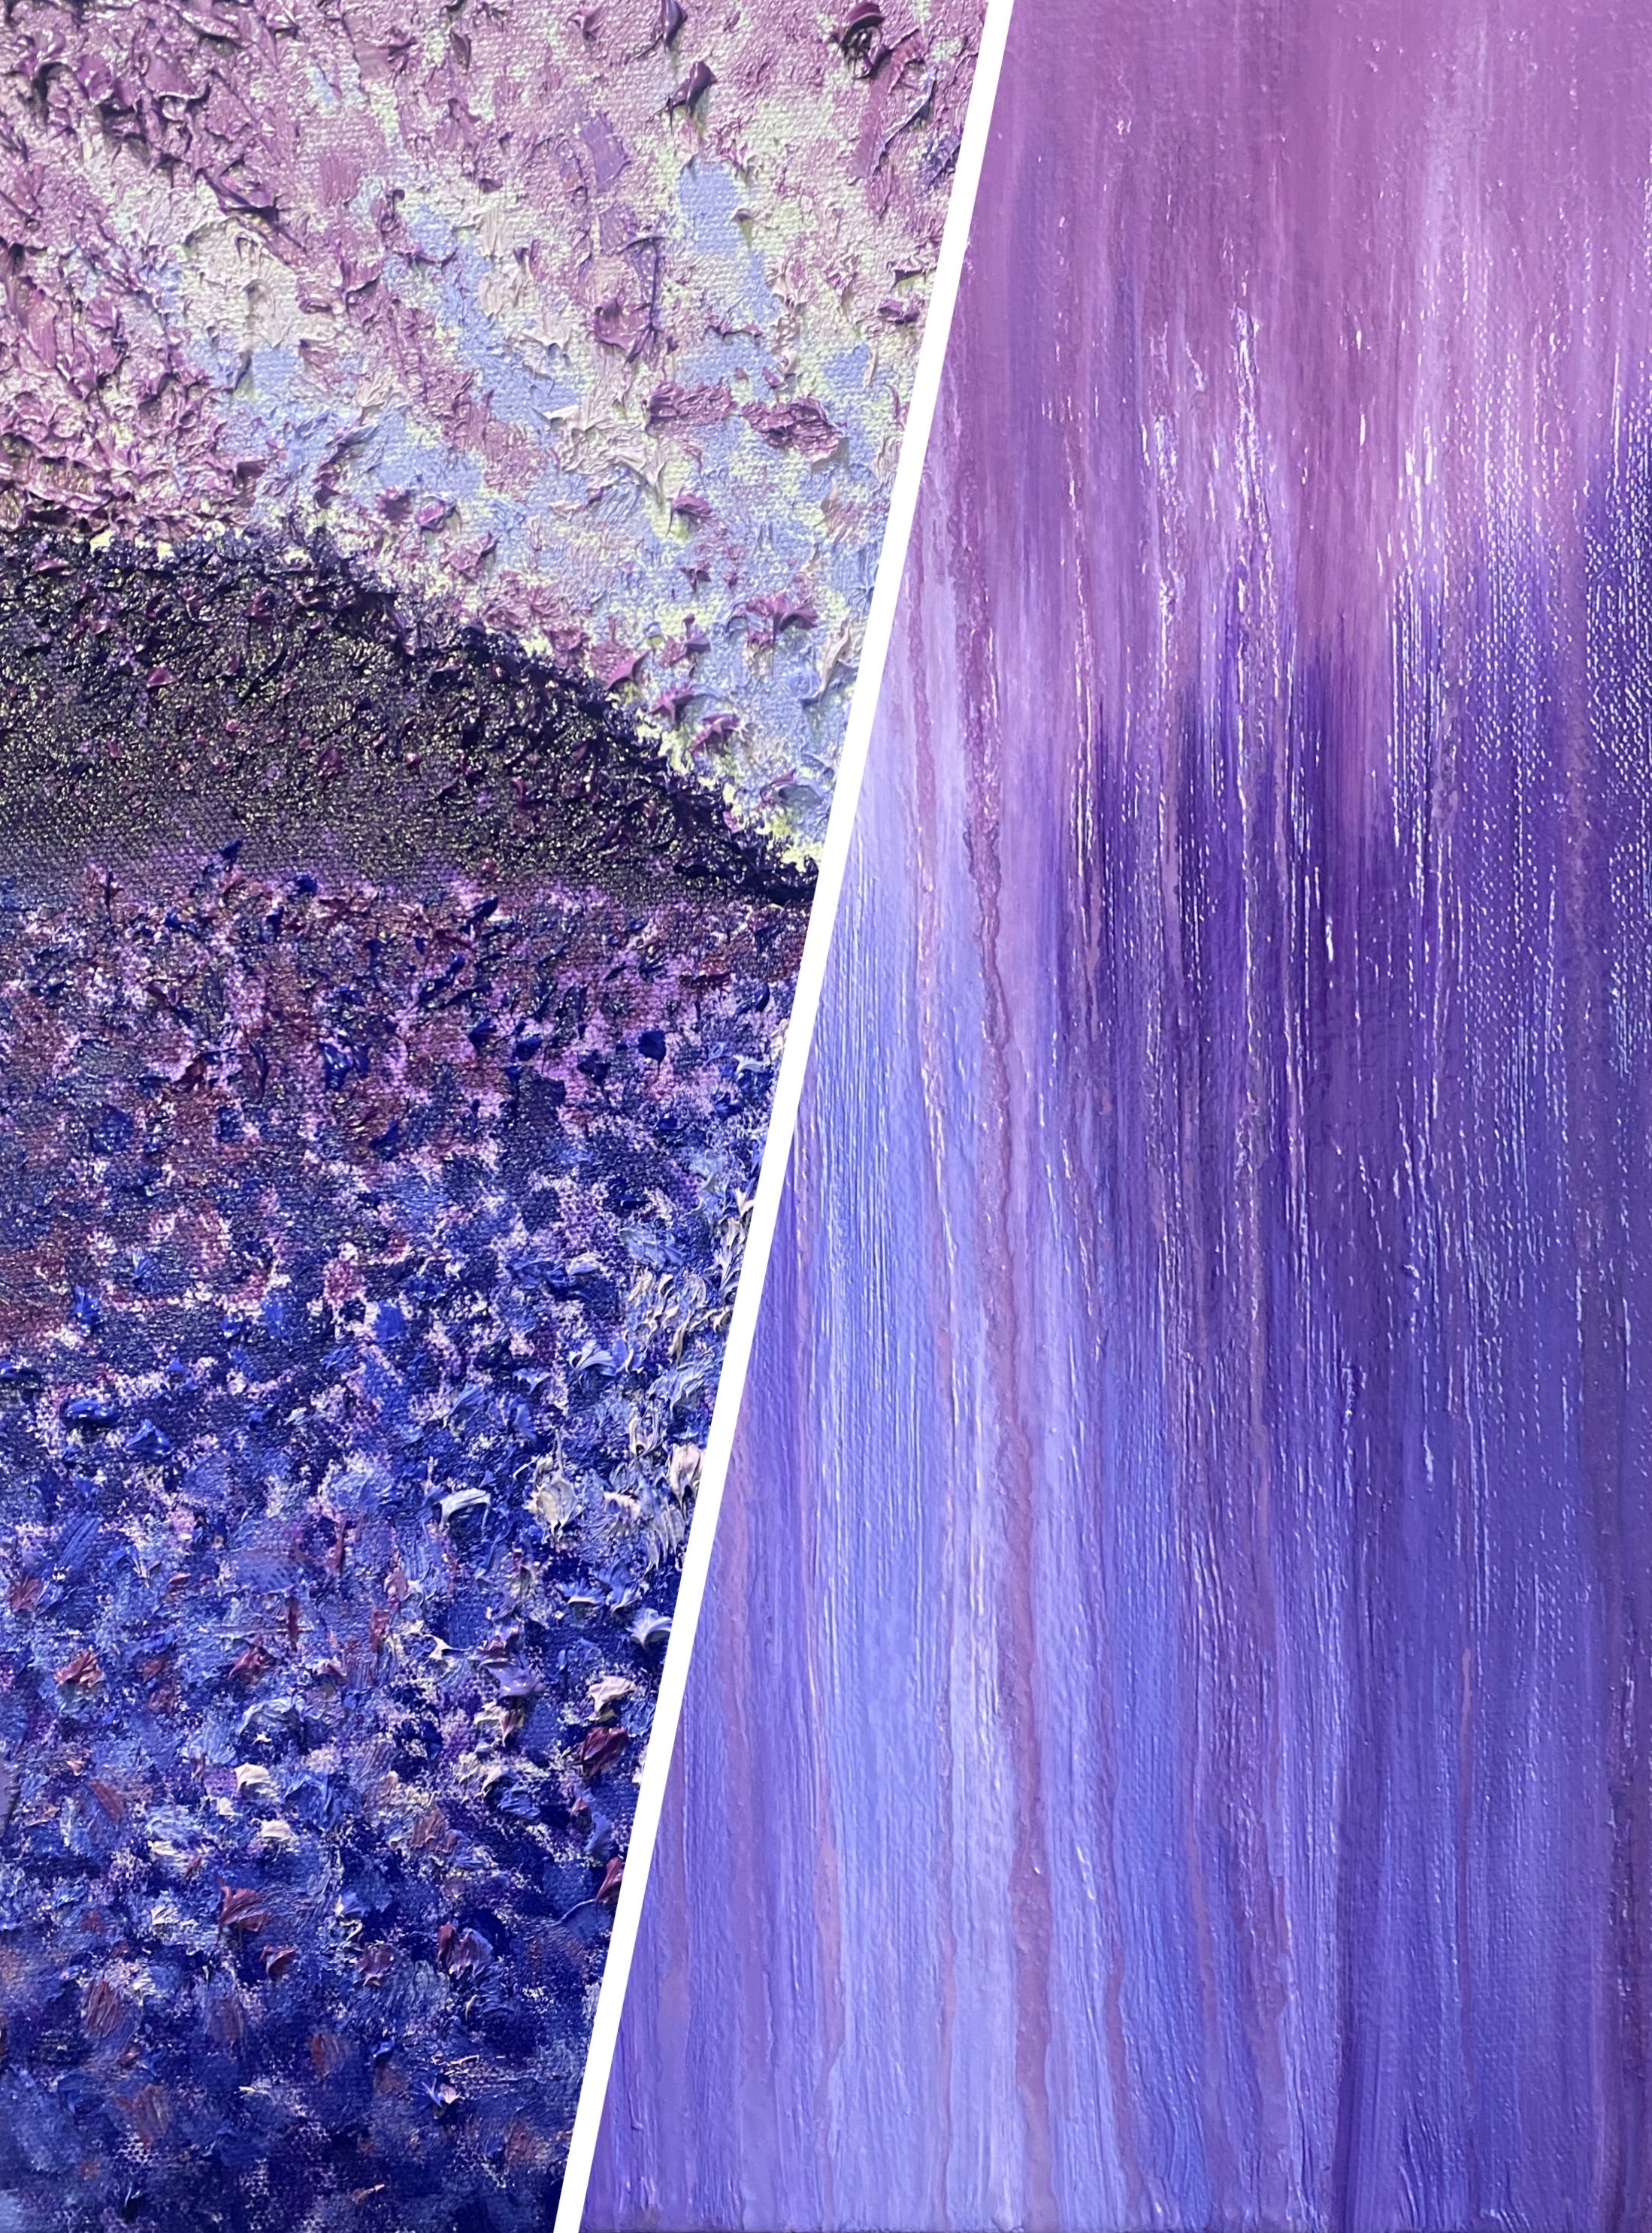
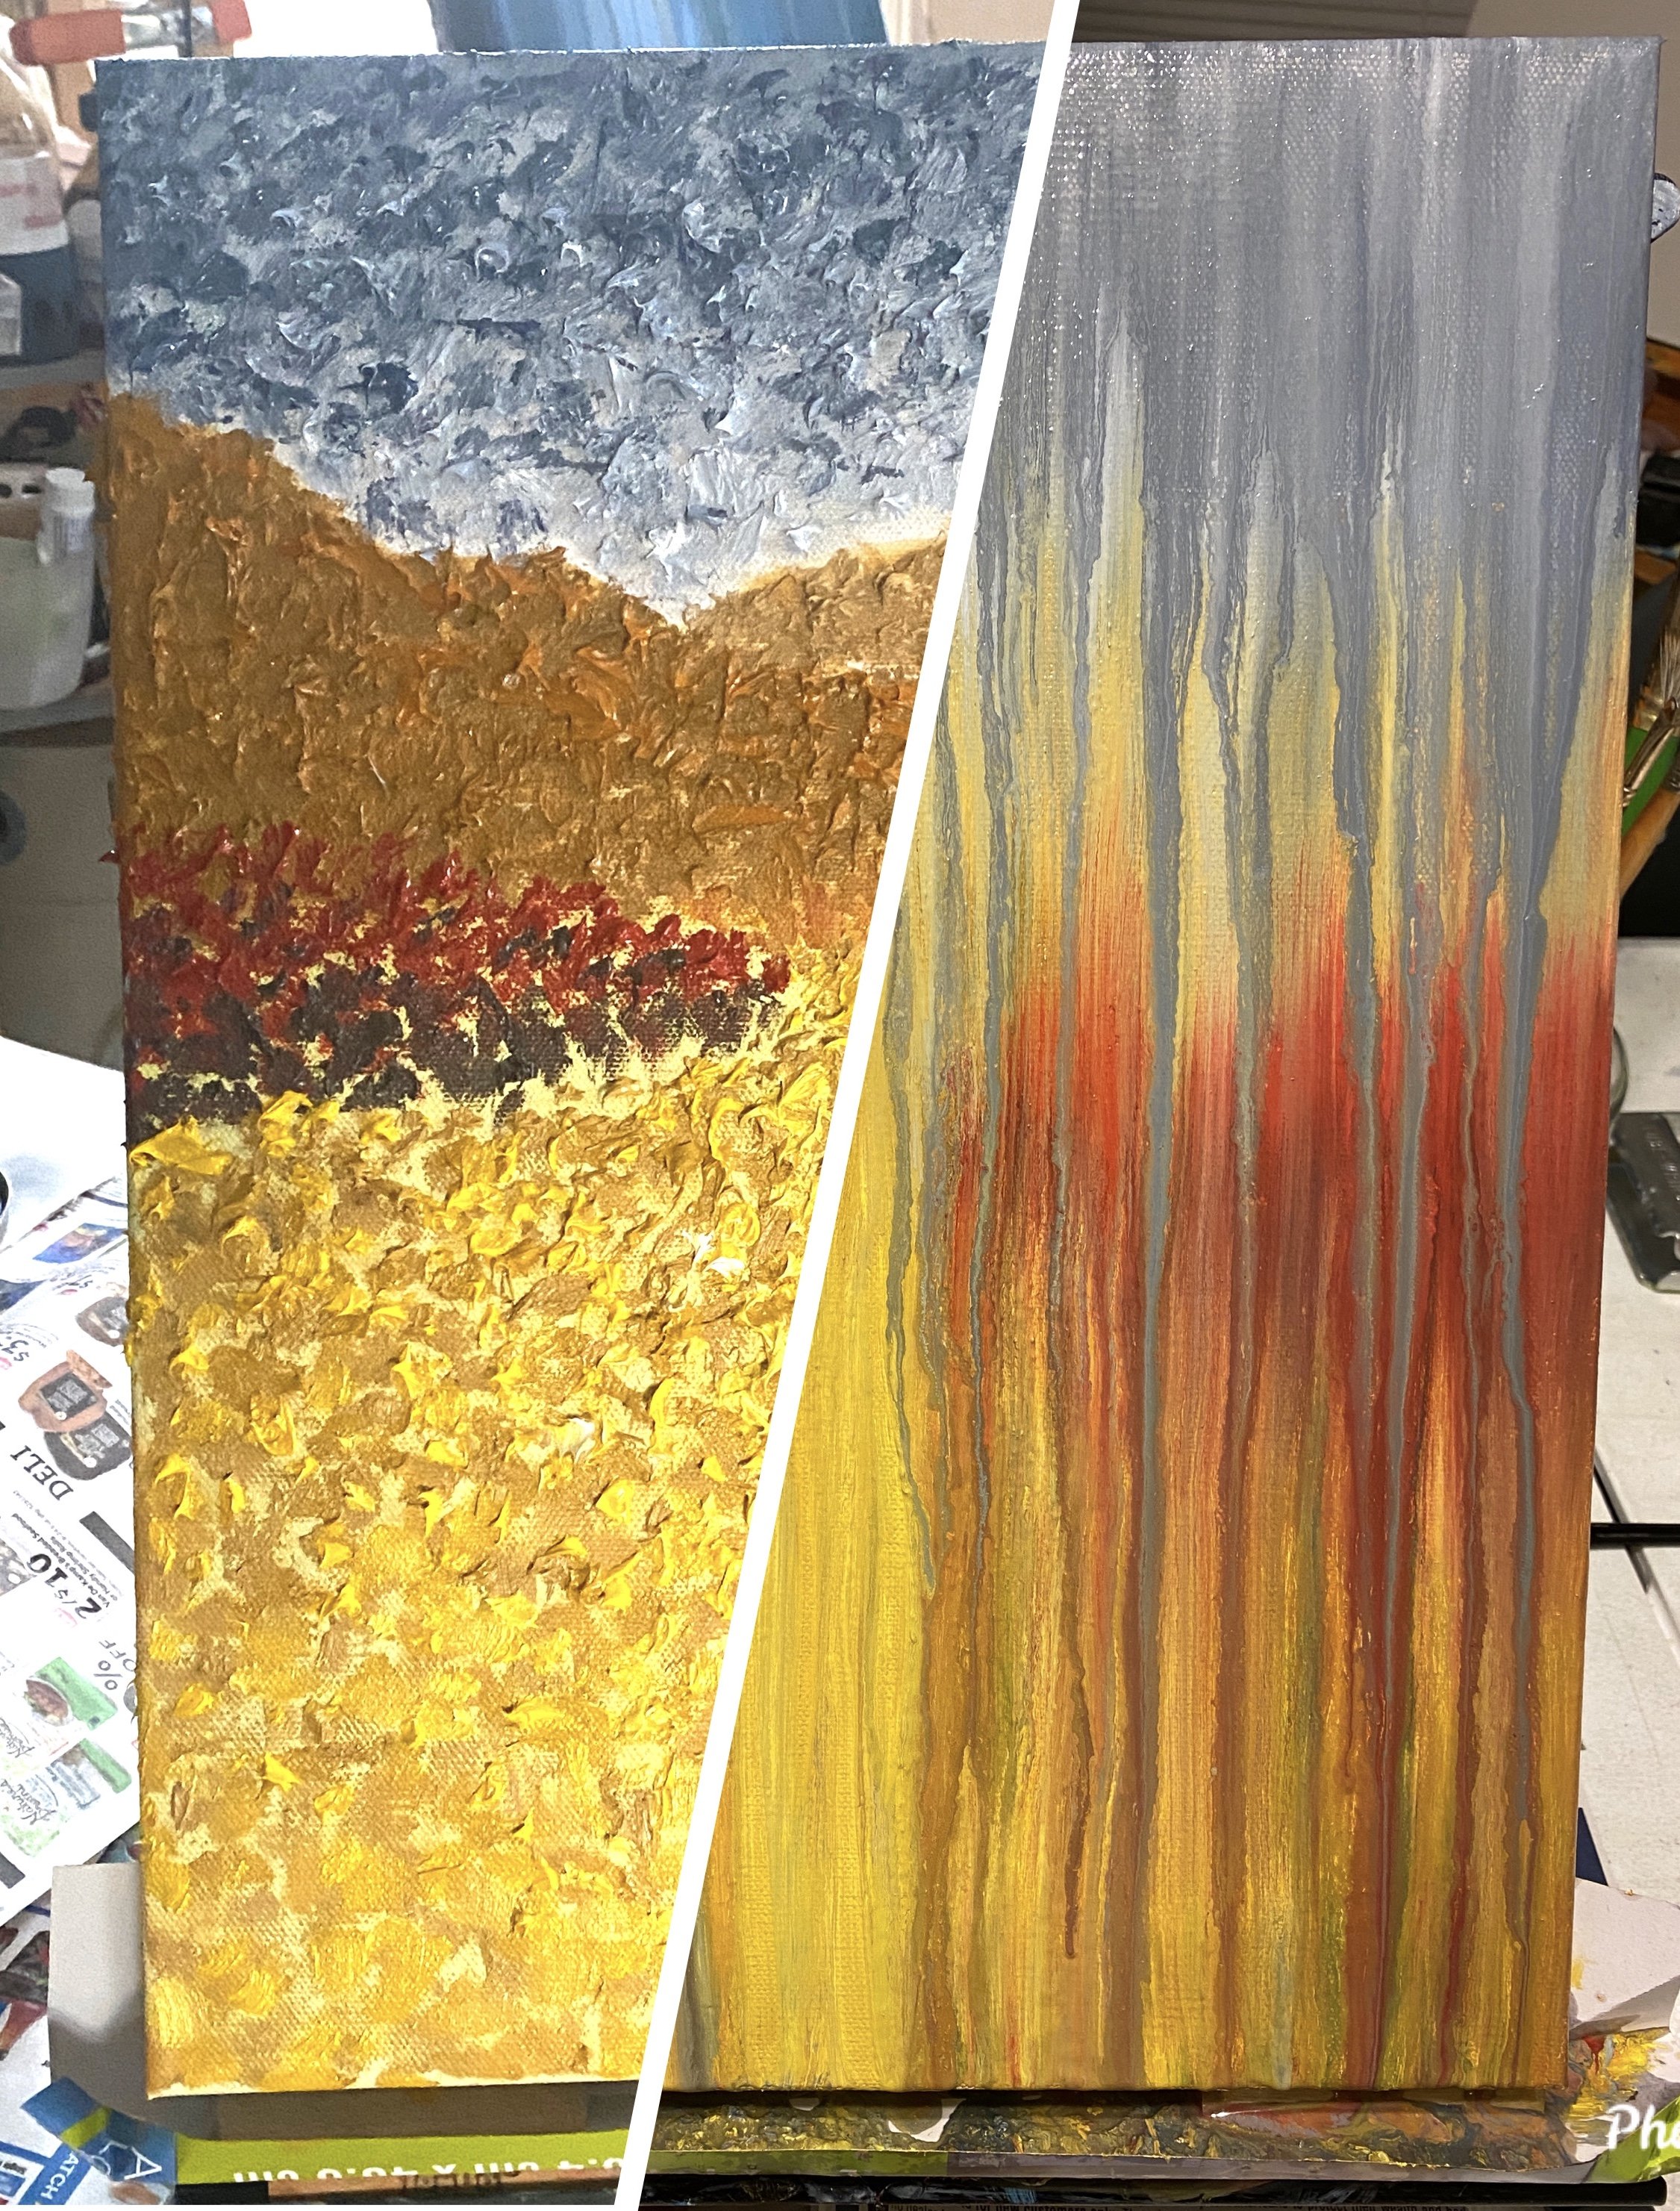
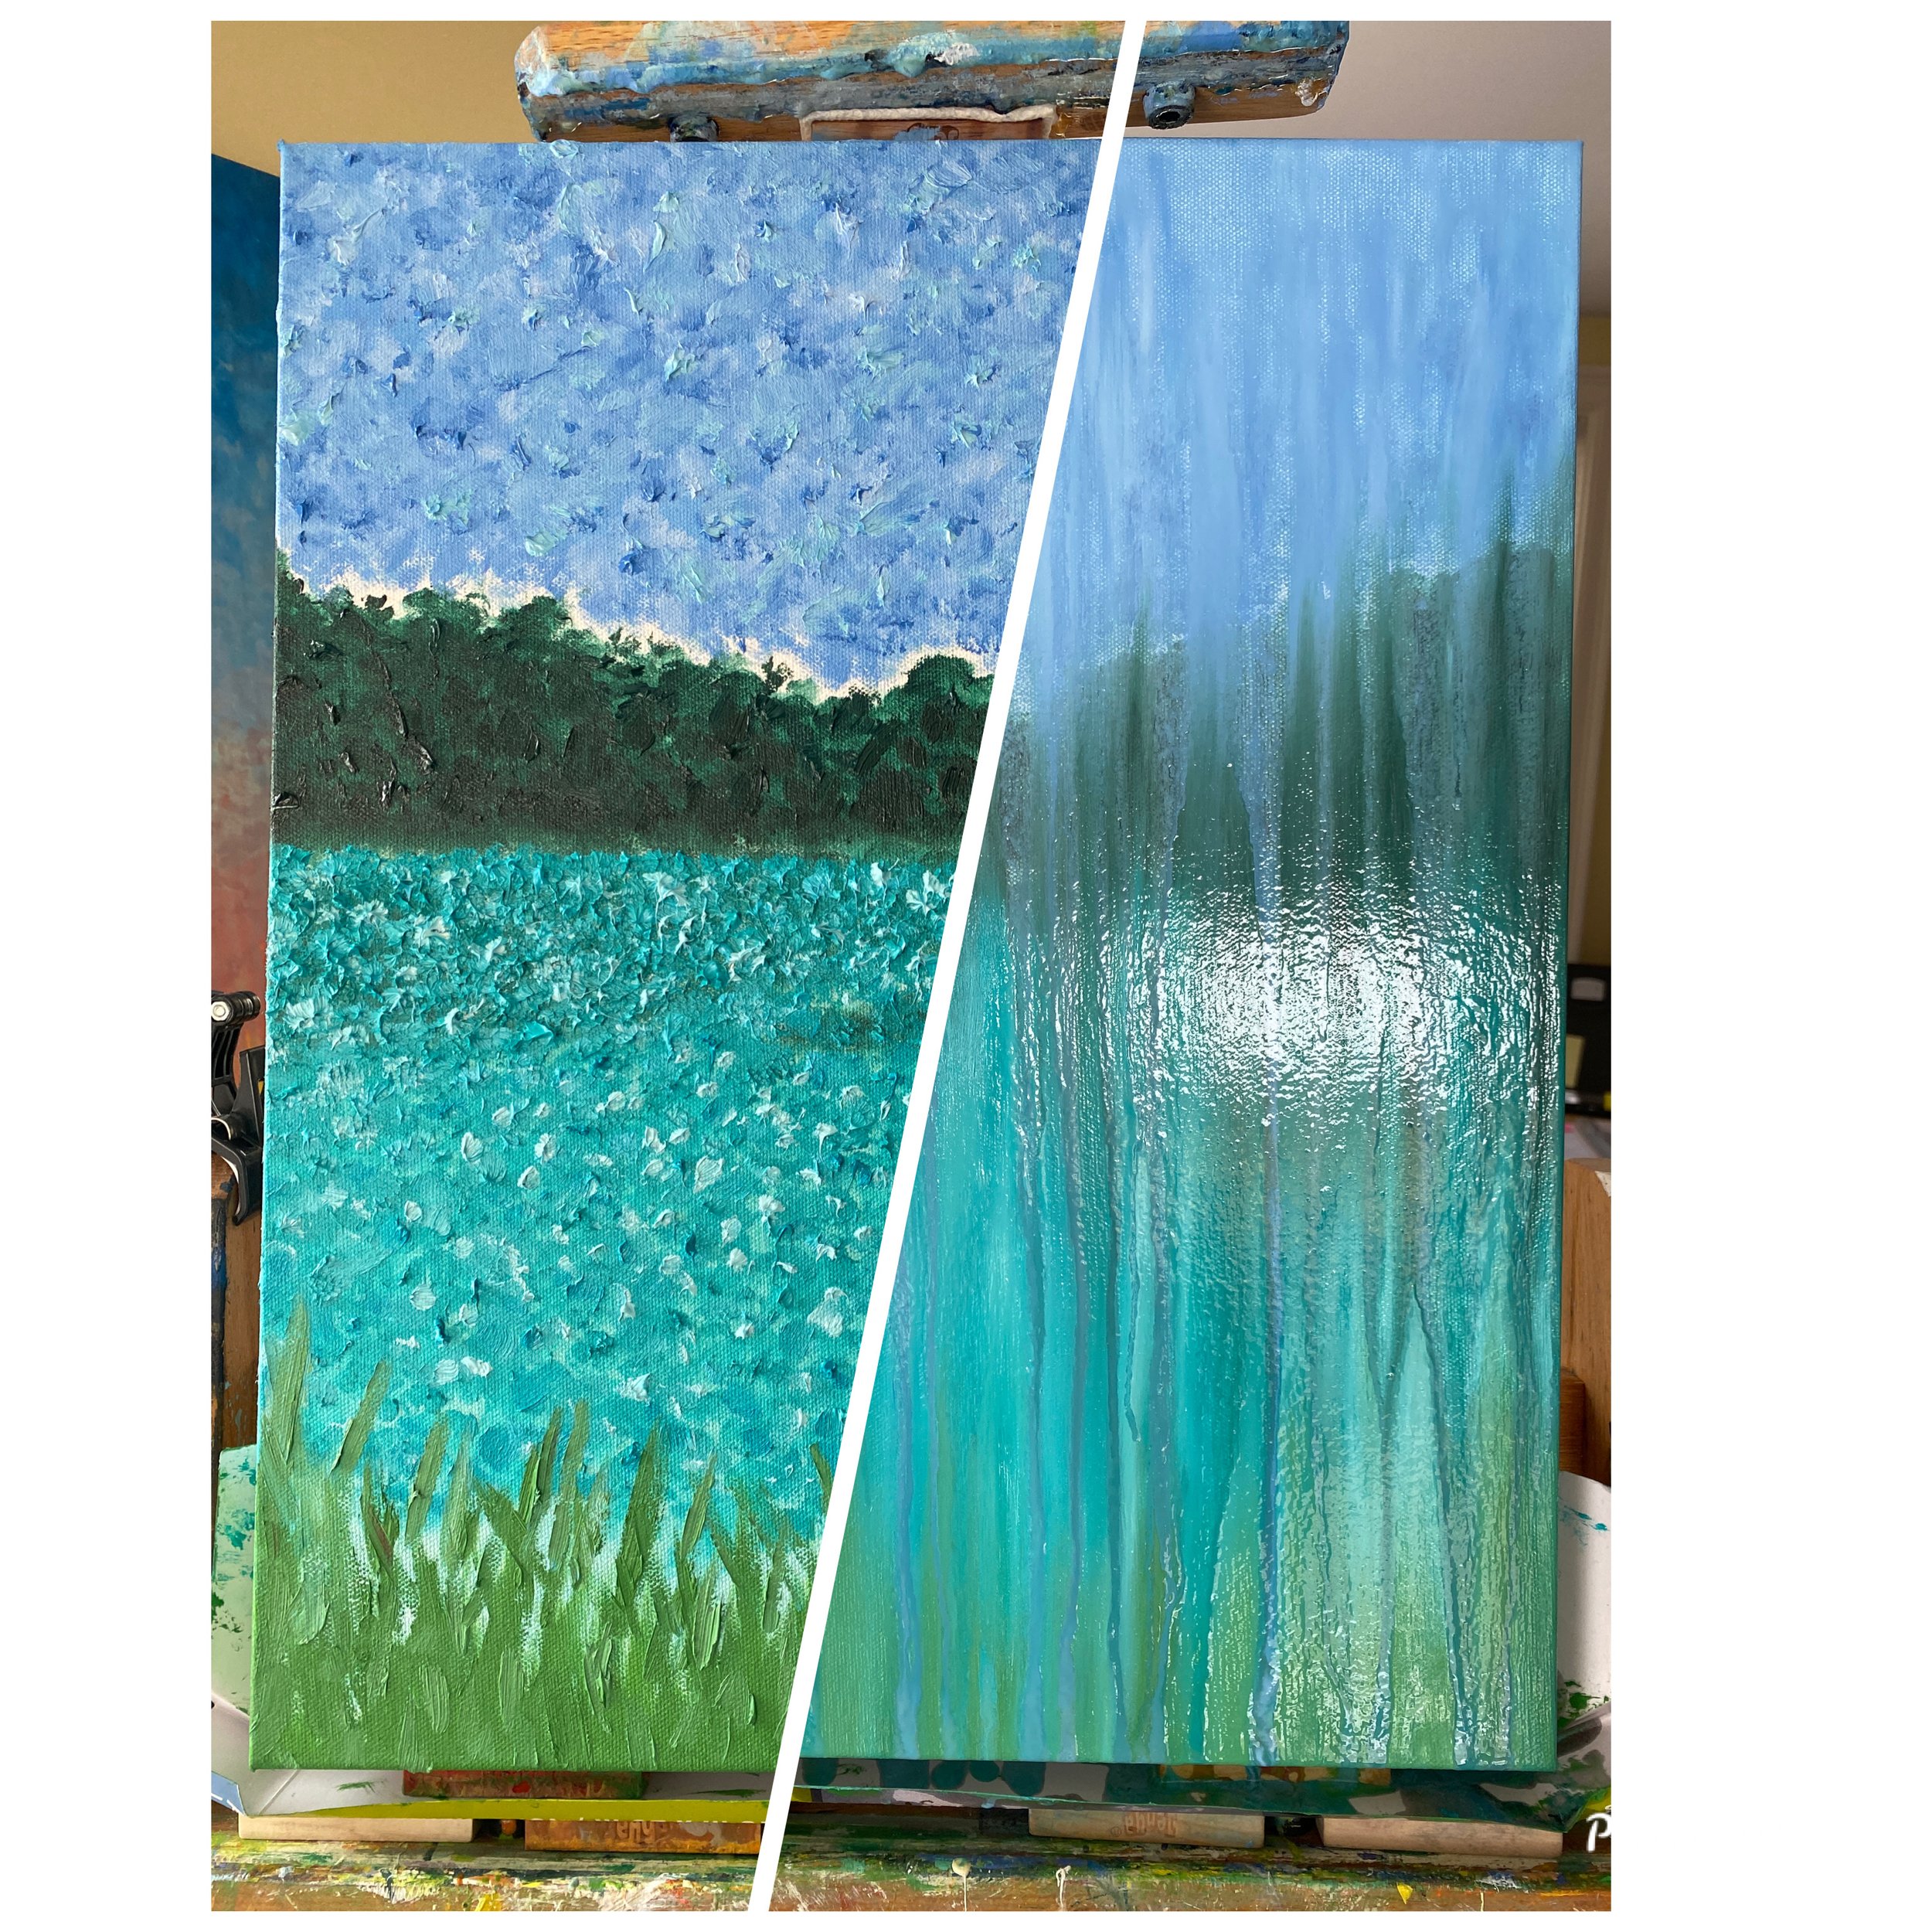
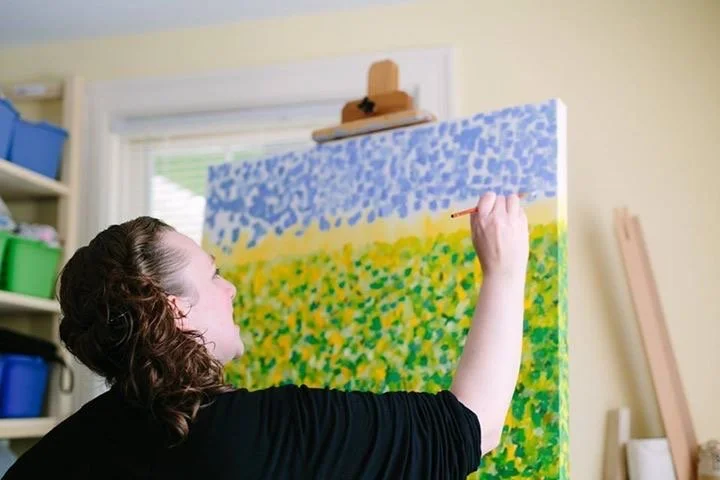
1: Dots & Daubs
The first phase of my rain paintings process is to analyze my reference imagery from a pointilism standpoint, then apply dots and daubs of thick point in the general composition that I’m aiming to create. Sometimes I do just want to freeze my process right here, because I really like how some of the dot paintings start out.
-

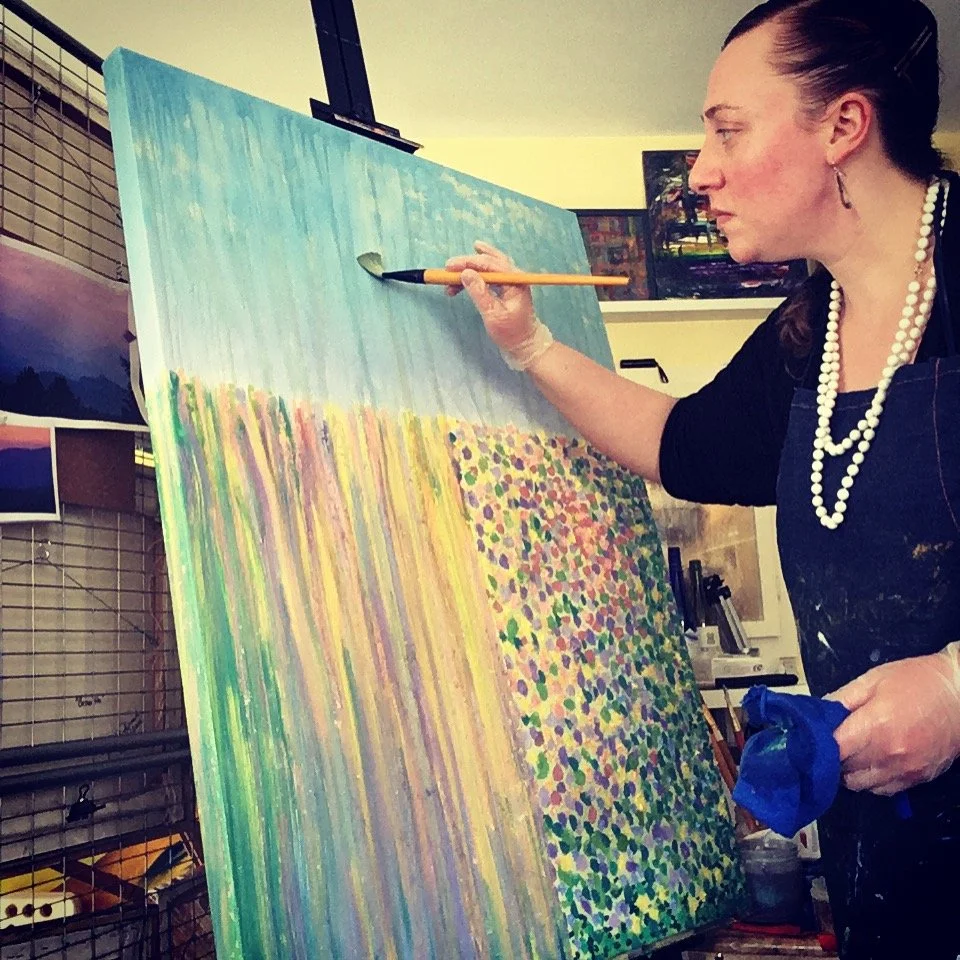
2: Deluge of Distortion
After I become so attached to the beauty and composition of my initial pointilism image, phase 2 calls for me to take my paint brush and stand oil, and I effectively wipe out the exising painting in strokes, from top to bottom, until the whole canvas is one big drippy mess in a rain storm.
-

3: Days of Drips, Drops & Deletions
Now that the original image is literally wiped out, I am applying blending brush to canvas about every hour or two for 48-96 hours, observing how drips have formed each time, and editing to either help draw the drip out more, or to delete the drip entirely. This is the most crucial phase. The biggest change in appearance is after the painting drips over the first night - in the morning it’s a different painting than when I left it to get just a few hours of sleep!
-

4: Drying & Display
Even though the painting has dried enough to form a skin on the top layer, the paint is still moving very slowly underneath. So to dry, I don’t place them completely flat, but don’t keep them completely vertical either for the first week after the skin forms.
Examples of Before & After process…